Setting up a honeycomb paper packing station that packers can work fast at
How to lay out a honeycomb paper packing station: bench order, dispenser position, bench height, boxes and rolls in reach, and a timing test.
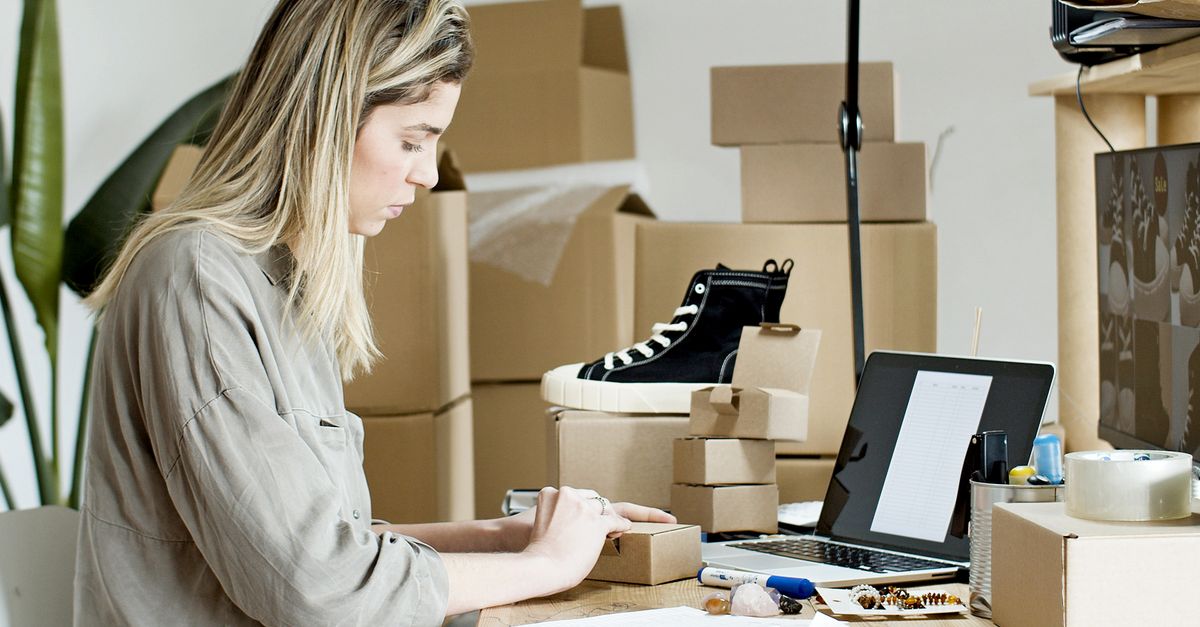
Lay out a honeycomb paper station in the order the parcel is built: product in, box, wrap, fill, seal, label, out. Put the dispenser on the side of the packer's pulling hand, with the paper outlet level with the bench. Keep the work surface about 5 to 10 cm below elbow height for light items, and lower for heavy ones. Anything the packer touches on every order should be within reach without taking a step.
Think of a good home kitchen while rotis are being made. The atta, the rolling board, the tawa and the plate sit in a line, in the order the roti travels. Nobody walks across the kitchen between rolling and cooking.
A packing bench should work the same way.
I am not an ergonomics expert, and a busy warehouse with long shifts should have one look at its benches. But most of what slows a honeycomb station down is simple, and you can fix it yourself in a morning.
What order should the bench follow?
Follow the parcel.
For a right-handed packer, it usually runs from left to right. For a left-handed packer, mirror it. I would ask each packer which hand they pull with before the bench is fixed, because changing it later means moving everything.
| Zone | What sits there | Why |
|---|---|---|
| 1. Incoming | Picked products, in a tote or tray | The packer picks up the next item without turning |
| 2. Boxes | The three to five box sizes used most | One reach, no walking to a rack |
| 3. Paper | Honeycomb dispenser, tissue if used | Pull ends over the wrapping area |
| 4. Wrapping area | Clear, flat space with a sheet-length mark | Room to lay one opened sheet flat |
| 5. Fill and seal | Void fill, tape dispenser | Next to the box, not behind it |
| 6. Label | Label printer and packing slips | Last step before the parcel leaves |
| 7. Outgoing | Cage, trolley or conveyor | Finished parcels leave the bench at once |
The worst layout I can imagine has the dispenser at one end and the boxes at the other. The packer crosses the bench twice for every parcel, and those seconds add up quietly over a shift.
Where should the dispenser go?
On the side of the hand that pulls.
The pull should end over the wrapping area, so the opened sheet lands where the item is waiting. That one decision saves more time than any other I can think of. Keep the paper outlet at about bench height, so the packer pulls level and straight. A pull that goes up, down or sideways loads one edge of the paper more than the other, and that edge tears first. Our guide to honeycomb paper dispensers covers the types and the tension brake.
Clamp a table-top unit firmly to the bench.
A dispenser that slides when pulled wastes paper and patience.
Then put a strip of coloured tape on the bench at the sheet length for your most common product. A second strip for the next most common. Packers pull to the mark instead of guessing, and the paper used per order stops drifting.
How high should the bench be?
The Canadian Centre for Occupational Health and Safety gives a simple guide for standing work (CCOHS fact sheet, last revised November 2022):
| Type of work | Work surface height | Packing example |
|---|---|---|
| Light work | About 5 to 10 cm below elbow height | Jewellery, cosmetics, small glass |
| Heavy work, pressing down | About 20 to 40 cm below elbow height | Ceramic planters, heavy bottles, big boxes |
People are different heights, so one fixed bench cannot suit everyone. Anti-fatigue mats, a platform for shorter packers, or adjustable legs on new benches all help. CCOHS also advises keeping usual operations within easy reach and not overreaching, which is the whole idea of this page.
Boxes, fill and tape
Look at last month's orders and count which box sizes were used most. It takes ten minutes. Usually a handful of sizes covers most orders. Keep those within one reach, on a shelf above the bench or in slots below it. Keep the rest on a rack nearby.
Void fill sits next to the box, not behind the packer. Our guide to using honeycomb wrap and void fill together explains how the two share the work. The tape dispenser sits where the box is closed, so the packer does not lift a full box to reach it.
Keep a small bin for torn sheets. Crumpled, they make good fill for corners, so they are not wasted.
We would rather you used every metre you paid for.
Where do the spare rolls go?
Keep about one shift's worth of rolls near the station, on a shelf off the floor and still in their wrapping until they go on the dispenser. Paper takes moisture from the air, and an unwrapped roll left next to an open loading door is not the same paper the next morning.
Put the spare rolls at about waist height. A roll change should not mean bending to the floor or reaching above the shoulder. Our guide to honeycomb paper consumption helps you work out how many rolls one shift uses.
Our standard trade roll is 250 m flat, which opens to about 400 m of wrap. We also make 100 m and 10 m rolls. A busy station on long shifts is usually happier with the 250 m roll, because it means fewer changes. A small station with little storage may prefer the shorter ones.
A worked example
Picture a candle brand packing about 300 orders a day on two benches. The numbers are only for illustration.
Each bench gets a table-top dispenser on the right, with a 380 mm roll of honeycomb paper. Two tape marks sit on the bench: one for a single candle jar, one for a gift set. The four most used box sizes sit on a shelf above the wrapping area. Void fill sits in a bin to the right of the box. Rolls for the day sit on a shelf at waist height behind the bench, still wrapped. The label printer is at the far right, next to the outgoing cage.
Nobody walks during a parcel.
That is the test I would apply to any bench.
Prove it with a stopwatch
Before you change anything, time 20 parcels at each station. Note the start and finish of each one. Then make one change, let the packers get used to it for a day or two, and time 20 parcels again.
Keep the changes that save time without adding damage or paper. Undo the ones that do not. Be strict. I would rather make three small changes that the stopwatch supports than one big redesign nobody measured.
Where we fit
We make the honeycomb paper and a table-top manual dispenser with a tension knob, and we can supply pre-cut 390 x 500 mm sheets for small stations that do not need a dispenser. Our products page lists widths, grades and colours.
Once the bench is ready, the people at it need the same care. Our guide to training new packers has a 30-minute routine.
If you are setting up a new packing room, send us a photo or a rough sketch of your bench and your top products through our contact page. We will suggest a roll width and a dispenser position to start with. We enjoy this kind of problem.
Questions buyers ask
How much bench space does one honeycomb station need?
Enough to stand your largest open box next to a full opened sheet laid flat, plus room for the item waiting to be wrapped. Measure those three things on your own bench before you buy furniture.
Can two packers share one dispenser?
At low volume, yes. On a busy line I would avoid it. They end up waiting for each other, and two people rarely agree on one tension setting.
Where should spare rolls be kept?
About one shift's worth near the station, on a shelf off the floor and still in their wrapping. Keep the rest in your dry store, and bring rolls out as they are needed.
Do I need a dispenser at all for a small station?
Not always. A station packing a few parcels a day can work well with pre-cut sheets, which open by hand. A dispenser starts to pay back once the station runs most of the day.